
Table of Contents
Table of Contents
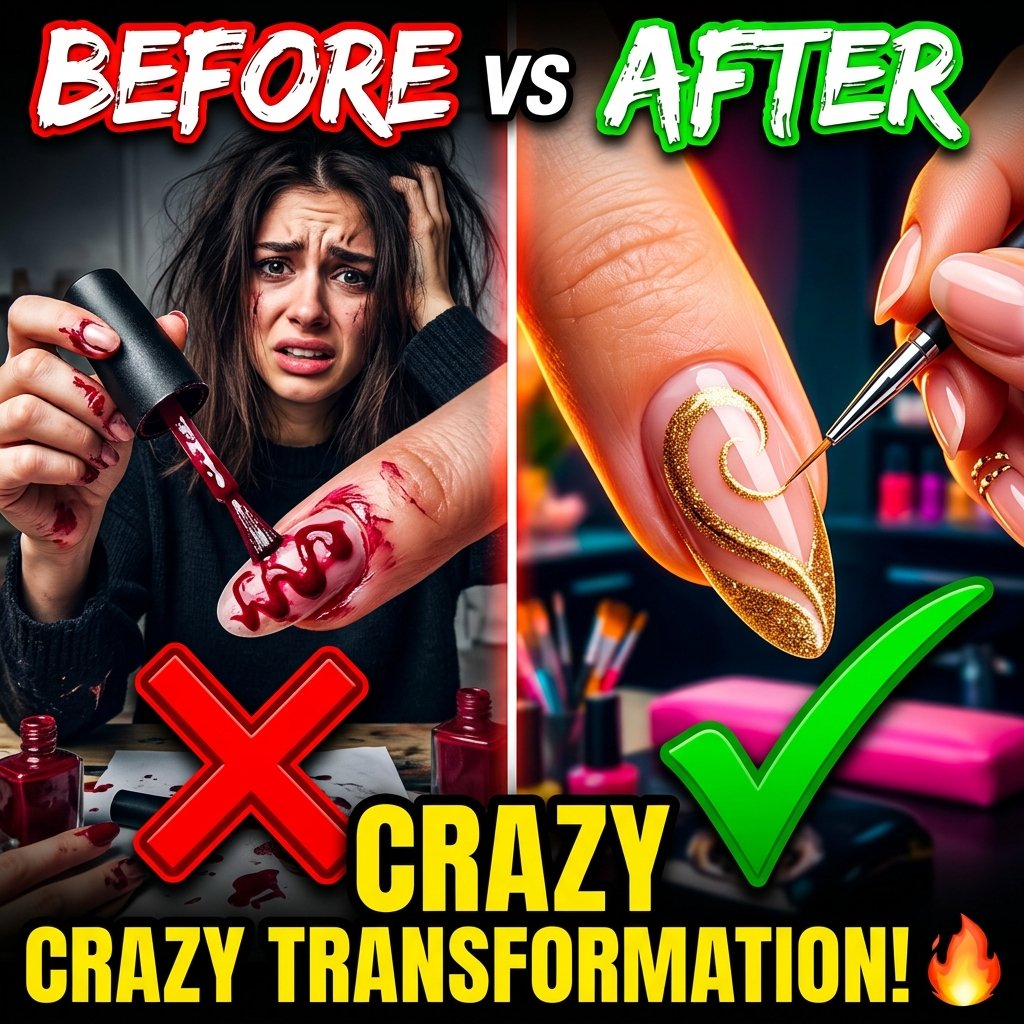
Why Your DIY Nail Artwork Retains Trying Like a Toddler Did It
We’ve all been there. You scroll by means of Instagram, see a beautiful, intricate nail artwork design that includes delicate swirls and ideal little stars, and also you suppose, “I might simply try this at house.” You purchase just a few bottles of polish, sit down at your kitchen desk, and check out to attract a skinny line. Thirty minutes later, you might be lined in acetone, and your nails appear to be they had been painted by a toddler utilizing a magic marker.
The issue will not be your palms. The issue will not be your expertise. The issue is your instruments. You can’t paint the Mona Lisa with a home portray brush. The tiny brush that comes contained in the bottle of nail polish is designed to slap a thick coat of coloration over a big floor space. It’s bodily inconceivable to do advantageous element work with it.
If you need your DIY manicures to truly look skilled, you must spend money on correct nail design brushes. Utilizing the best brush utterly modifications the sport. It turns a irritating, messy course of into one thing that’s really enjoyable and satisfying. Right here is precisely what brushes you want, and the way they magically make nail artwork a lot simpler.
1. The Liner Brush (The Holy Grail)
When you solely ever purchase one single nail artwork software in your complete life, it must be a liner brush. That is the comb chargeable for 90% of the cool designs you see on Pinterest proper now. A liner brush is extremely skinny. It often solely has just a few dozen hairs, and it is extremely, very lengthy.
The size is the key. If you strive to attract a straight line with a brief brush, your hand naturally shakes, and the road comes out crooked. As a result of a liner brush is so lengthy, the hairs soak up the shaking of your hand. You lay the comb flat in opposition to the nail and simply pull it throughout. The comb does the stabilizing be just right for you.
That is the comb you employ for French ideas, lengthy vertical stripes, and people stylish summary swirls. It holds a stunning quantity of polish in its lengthy bristles, so you’ll be able to often draw a whole steady line throughout the nail with out having to dip it again into the bottle.
2. The Element Brush (For the Tiny Stuff)
Whereas the liner brush is for lengthy, sweeping traces, the element brush is for the microscopic stuff. A element brush is simply as skinny as a liner brush, however this can be very brief. The bristles are often just a few millimeters lengthy.
As a result of the bristles are brief, they’re very stiff. This provides you absolute, pinpoint management over the place the polish goes. You employ the element brush if you find yourself making an attempt to color tiny little daisies, little hearts for Valentine’s Day, or writing tiny letters.
If you use a element brush, you must work in a different way. You do not drag it throughout the nail like a liner brush. As a substitute, you employ tiny, very deliberate dabbing motions. It’s virtually like drawing with a fine-tipped pen. It requires a bit extra focus, nevertheless it means that you can create artwork that appears extremely intricate and costly.
3. The Cleanup Brush (The Eraser)
That is the largest secret within the skilled nail business. When a nail tech paints your nails, they hardly ever get the polish completely aligned together with your cuticle on the primary strive. They make errors, they usually get polish in your pores and skin. The distinction is that they know methods to erase it earlier than it dries.
A cleanup brush is a brief, flat, barely angled brush with very stiff bristles. It seems to be like a tiny angled eyeliner brush. You don’t use this brush to use polish. You employ it to take away polish.
After you paint your nail, whereas the polish remains to be moist, you dip the cleanup brush into pure acetone. You then rigorously run the comb proper alongside the sting of your cuticle, sweeping away any polish that flooded the pores and skin. It immediately provides you that crisp, clear, gap-less skilled look. When you mess up a swirl design, you simply use the acetone-dipped brush to erase the error and check out once more. It’s a literal magic wand.
4. The Ombre Sponge Brush
Ombre nails (the place one coloration completely fades into one other coloration) look extremely tough to do. You would possibly suppose you want an airbrush machine to get that seamless transition. You do not. You simply want a sponge brush.
You’ll be able to really simply use low cost make-up wedge sponges, however they make particular sponge brushes on a stick that hold your palms clear. You paint a stripe of your first coloration on the sponge, and a stripe of your second coloration proper subsequent to it. Then, you actually simply bounce the sponge up and down in your nail.
The porous texture of the sponge mechanically blends the 2 moist colours collectively the place they meet. You bounce it three or 4 instances, and all of a sudden you will have an ideal sundown fade. It’s the best, most satisfying nail artwork approach on this planet, and it requires zero creative ability.
5. The Dotting Instrument
Okay, technically this isn’t a brush with hairs, however it’s offered in each single pack of nail design brushes, and also you completely want it. A dotting software is only a metallic stick to a tiny metallic ball on the tip.
When you attempt to make a polka dot utilizing a daily brush, the dot will come out trying like a bizarre oval or a squiggly blob. A dotting software provides you a mathematically good circle each single time. You simply dip the metallic ball right into a puddle of polish, and contact it straight down onto the nail.
You need to use it for leopard print, flower petals, or only a easy minimalist dot on the base of the nail. They often come double-sided, with a big ball on one finish and a tiny ball on the opposite, so you’ll be able to simply change the scale of your design.
6. Artificial vs. Pure Hair
If you go to purchase a pack of brushes on-line, you’ll discover an enormous worth distinction. A pack of twenty artificial brushes may cost eight {dollars}, whereas a single pure Kolinsky hair brush may cost thirty {dollars}.
In case you are utilizing common nail polish or gel polish, follow a budget artificial brushes. They work completely advantageous, and should you by chance smash one, you will not be heartbroken. Artificial hairs do not soak up the polish, which makes them nice for portray.
The one time you ever want to purchase an costly pure hair brush is in case you are constructing precise acrylic nail extensions from scratch with liquid monomer. Pure hair holds the liquid correctly. However for simply doing artwork and drawing traces? Low-cost nylon brushes are literally higher.
7. Methods to Not Destroy Them on the First Day
The quickest method to smash liner brush is to let the polish dry on the bristles. The second a design is completed, you must clear the comb instantly.
In case you are utilizing common nail polish, dip the comb in a dappen dish of non-acetone remover, wipe it gently on a lint-free wipe (not a cotton ball, the cotton fibers will get caught within the brush), after which use your fingers to softly pinch the bristles again into a pointy level earlier than storing it.
In case you are utilizing gel polish, by no means use acetone to scrub the comb. Acetone dries out artificial bristles and makes them fray. As a substitute, put a drop of clear gel base coat on a palette, and swirl the soiled brush within the clear gel till the colour bleeds out. Wipe it clear, form it, and put the cap again on so the ambient UV mild within the room does not treatment the leftover gel right into a stable plastic rock.
Ultimate Ideas on the Brush Improve
Cease beating your self up for being unhealthy at nail artwork. You are attempting to cut down a tree with a butter knife. The second you spend fifteen {dollars} on a fundamental set of nail design brushes from Amazon, your complete perspective will change.
The crisp traces, the proper dots, and the clear cuticles are solely achievable at house. You simply want at hand over the heavy lifting to the correct instruments.


One comment on “Nail Design Brushes 101: Why Your DIY Nail Art Looks Messy”