Table of Contents
Table of Contents
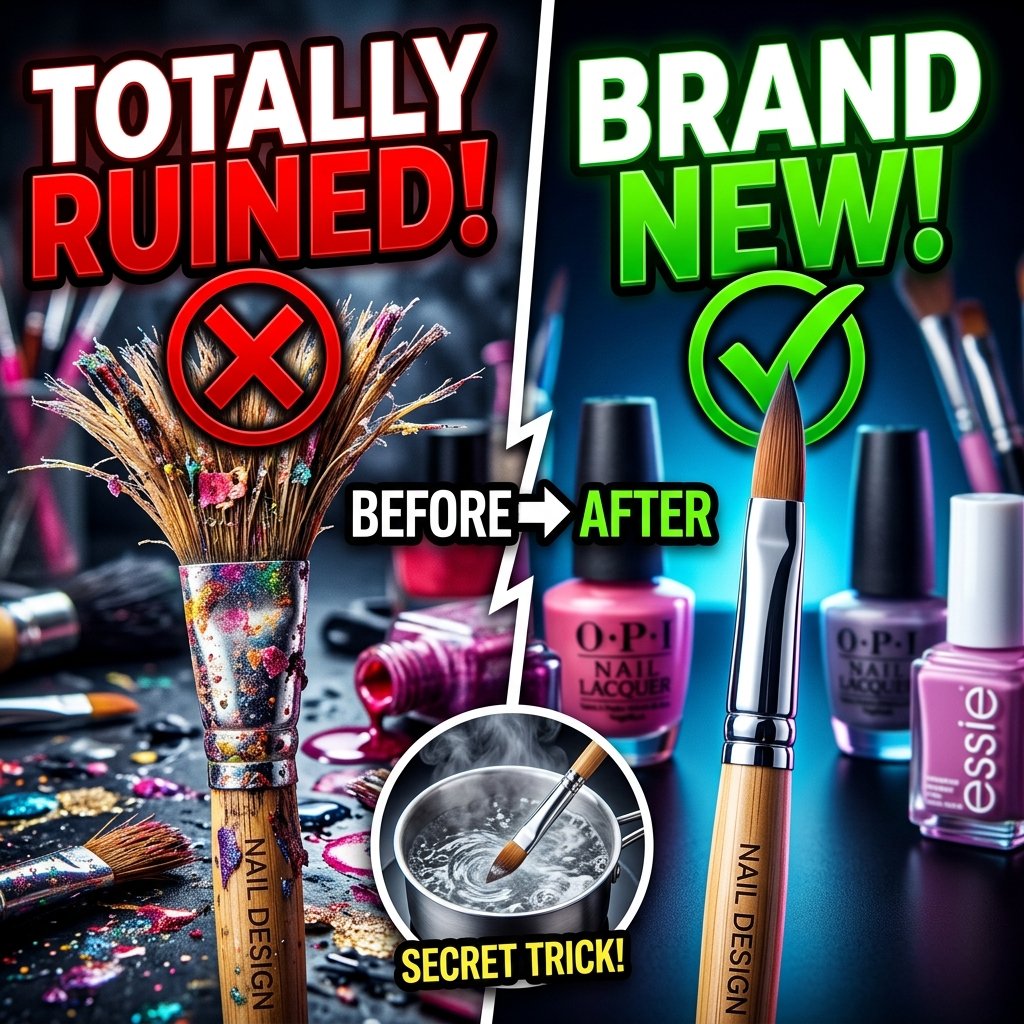
Easy methods to Save a Ruined Brush for Nail Design Earlier than You Throw It Away
There isn’t a worse feeling within the DIY nail artwork world than ruining a model new brush. You spent twenty {dollars} on a high-quality liner brush, you used it as soon as to color a couple of cute swirls, and then you definitely put it away in your drawer. Two weeks later, you pull it out to do a brand new manicure, and the bristles are fully hardened right into a strong block of plastic. The tip is break up in two totally different instructions, and it appears like a miniature broom.
Most individuals instantly throw the comb within the trash and purchase a brand new one. It feels fully hopeless. However earlier than you throw it away, cease. You should not have to purchase a alternative. A ruined brush for nail design is sort of by no means really lifeless; it’s simply soiled and dehydrated.
Skilled nail technicians don’t purchase new brushes each single week. They know precisely easy methods to resurrect a brush that appears prefer it belongs within the rubbish. Whether or not you unintentionally cured gel polish into the bristles, or the nylon hairs are frayed and protruding sideways, right here is the final word information to saving your favourite nail artwork brush.
1. The Drawback: Cured Gel Polish
That is the commonest method newbies break a brush. Gel polish doesn’t dry when uncovered to air; it solely hardens when uncovered to ultraviolet (UV) gentle. Should you end your nail artwork, wipe the comb on a dry paper towel, and go away it sitting in your desk, you may assume it’s clear. However there are nonetheless microscopic traces of gel contained in the bristles.
If any daylight comes by your window and hits that brush, the ambient UV rays will slowly treatment the hidden gel. By the following day, the bristles are as exhausting as a rock.
The Resolution: Soaking in Scorching Base Coat
Don’t use pure acetone. Acetone will simply dry out the nylon bristles and make them brittle. The key to melting cured gel polish is definitely extra gel polish.
Take a small glass dappen dish (or a tiny shot glass) and pour in a beneficiant puddle of clear gel base coat. You may microwave the glass dish for actually three seconds to make the gel barely heat, however be very cautious. Submerge the rock-hard bristles into the clear gel and let it sit for ten to fifteen minutes.
The recent, uncured clear gel acts as a solvent. It slowly seeps into the cured plastic block and softens it. After fifteen minutes, take an orange wooden stick (a cuticle pusher) and really gently scrape the bristles towards the underside of the glass. You’ll begin to see the coloured, hardened chunks of polish breaking up and bleeding into the clear gel. Maintain swirling it till the comb is gentle and versatile once more, then wipe it clear on a lint-free wipe.
2. The Drawback: Frayed, Break up Ends
Should you use common, air-dry nail polish, you in all probability clear your brush by dunking it right into a bottle of pure acetone. Acetone is extremely harsh. It strips all of the moisture out of the artificial nylon bristles. After a couple of weeks of this, the comb begins to look frizzy. The hairs break up on the finish, making it bodily inconceivable to attract a single, sharp line.
The Resolution: The Boiling Water Trick
Artificial nail artwork brushes are basically simply very tremendous strands of plastic. Plastic has a “reminiscence,” and it responds superbly to warmth. You may really reset the form of the comb utilizing boiling water.
Boil a small cup of water. It must be genuinely boiling, not simply sizzling from the faucet. Take your frayed brush and dip simply the bristles into the boiling water for precisely three seconds. Don’t let the metallic ferrule contact the water, as a result of the boiling water will soften the glue holding the hairs collectively.
Pull the comb out of the water after three seconds. The extreme warmth immediately softens the plastic reminiscence of the nylon. Whereas the bristles are nonetheless sizzling and moist, pinch them between your thumb and index finger and pull upward, molding them again right into a razor-sharp level. When the plastic cools a couple of seconds later, it’ll lock into that sharp, good form. It actually appears model new.
3. The Drawback: The Hairs Maintain Falling Out
In case you are portray a fragile French tip and also you abruptly discover a tiny black brush hair caught within the moist polish, it’s extremely irritating. This occurs as a result of the glue contained in the metallic ferrule is breaking down.
The Resolution: Crimp the Ferrule
This normally occurs should you unintentionally soaked your entire brush—together with the metallic half—in acetone. The acetone dissolves the glue holding the bristles. Should you catch it early, it can save you the comb mechanically.
Take a pair of professional quality pliers or wire cutters. Place the jaws of the pliers proper in the midst of the metallic ferrule (the silver or gold tube connecting the deal with to the hair). Gently squeeze the pliers to crimp the metallic barely tighter across the base of the hairs. Don’t squeeze so exhausting that you just lower the metallic in half; simply give it a agency pinch to tighten the grip. This can bodily entice the remaining hairs inside and cease them from shedding onto your nails.
4. Easy methods to Correctly Retailer Them
After getting resurrected your brush utilizing sizzling water or clear gel, it’s good to ensure you by no means need to do it once more. The way in which you retailer a brush for nail design is the one factor maintaining it alive.
By no means put a moist brush again into a good plastic sleeve or cap. If the bristles catch the sting of the cap as you slide it on, they may bend backwards. Should you go away an artificial hair bent backwards inside a cap for every week, it’ll completely keep that method.
At all times form the comb into an ideal level utilizing your fingers earlier than you set the cap again on. Should you should not have caps on your brushes, you will need to retailer them standing upright in a cup. Should you throw them unfastened right into a make-up bag, the heavy bottles of polish will crush the bristles, and you’ll have to do the boiling water trick yet again.
5. Know When to Let Go
Whereas the boiling water trick and the clear gel soak will save 90% of ruined brushes, there’s a level of no return. You probably have trimmed the frayed edges of the comb with scissors so many instances {that a} lengthy liner brush has turn into a brief, stubby element brush, it’s time to throw it away.
Additionally, should you unintentionally drop your brush on the ground whereas it’s lined in sticky gel polish, and it rolls by pet hair and carpet fuzz, simply throw it away. You’ll by no means get these microscopic lint fibers out of the sticky gel, and they’ll continuously switch onto your nails and break your clean high coat.
Closing Ideas on Brush Upkeep
An excellent brush for nail design is an funding. It’s the solely factor standing between a messy, irritating DIY manicure and a flawless, salon-quality design. Cease treating them like disposable instruments.
Take the additional two minutes after your manicure to correctly clear the bristles, form them into a pointy level, and retailer them upright. Should you do make a mistake and treatment gel into the comb, do not panic. Simply get away the recent water or the clear base coat, and convey it again from the lifeless.